Raymond Sagapolutele

Some pointers for the photographer working from a studio called HOME

Article Detail

Talofa lava, kia ora and hello.

My name is Raymond Sagapolutele, I am an artist and use my camera as my main medium or method to tell stories. In this article, I’m going to share some photography pointers that I use in my own work. These are not hard-and-fast rules, but are intended as starting points – for photographers of all ages and experience levels – to try so to get more comfortable as an artist-photographer. By all means, break these if you feel this will help you tell your story or to hold a memory.

My models and assistants in this article are my awesome family. I spent some time with them a year ago at their home and, while I was there, photographed them with their permission. During the COVID-19 lockdown, many of us spent a lot of time at home. Even when at home, we have the opportunity for artistic exploration. Your camera doesn’t have to be anything fancy and, for many of us, if we have a phone we have a camera, like Nassi shown here in this photograph.
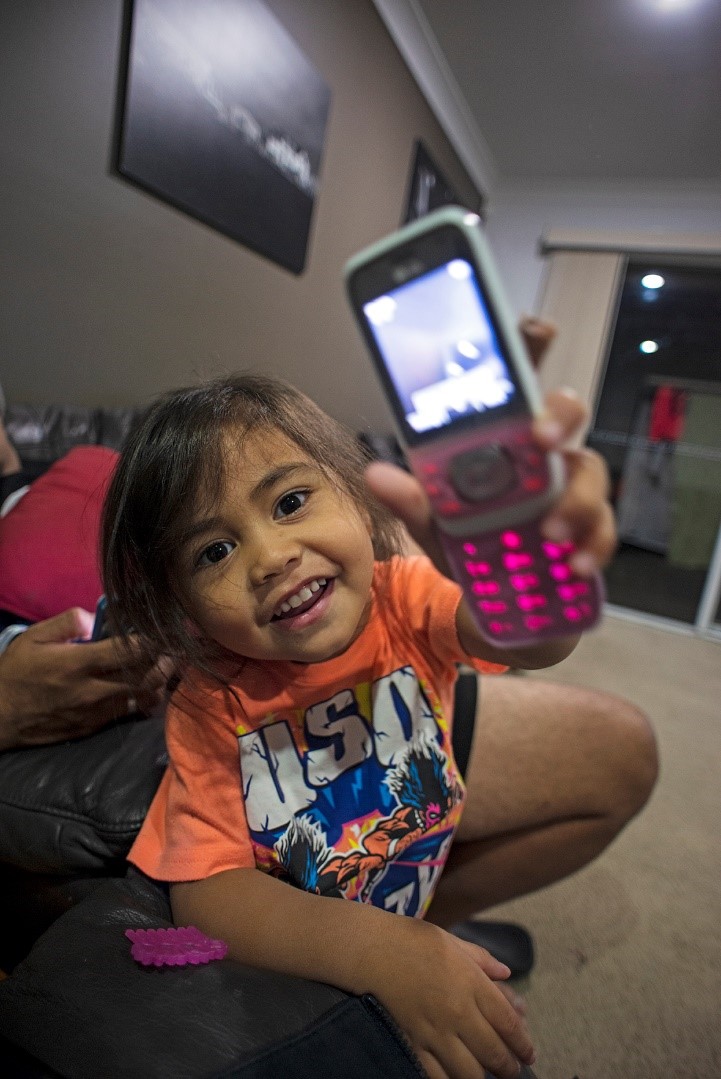
<p><em>Nassi offers me her phone.&nbsp;</em>Photo: Raymond Sagapolutele</p>

Nassi offers me her phone. Photo: Raymond Sagapolutele

1.  Find your model or models.

I like to ask my family to be my models, but if you can’t find another person to shoot, most camera and phones have a self-timer so you too can become a model.

<p><em>Self-portrait.&nbsp;</em>Photo: Raymond Sagapolutele</p>

Self-portrait. Photo: Raymond Sagapolutele

I would strongly suggest you get permission from the person or persons you are shooting to take their images, especially if you want to upload your images to the internet. In this case, I asked myself if I was OK with taking photos of myself and I said I was cool with that.


2. Sit and watch.

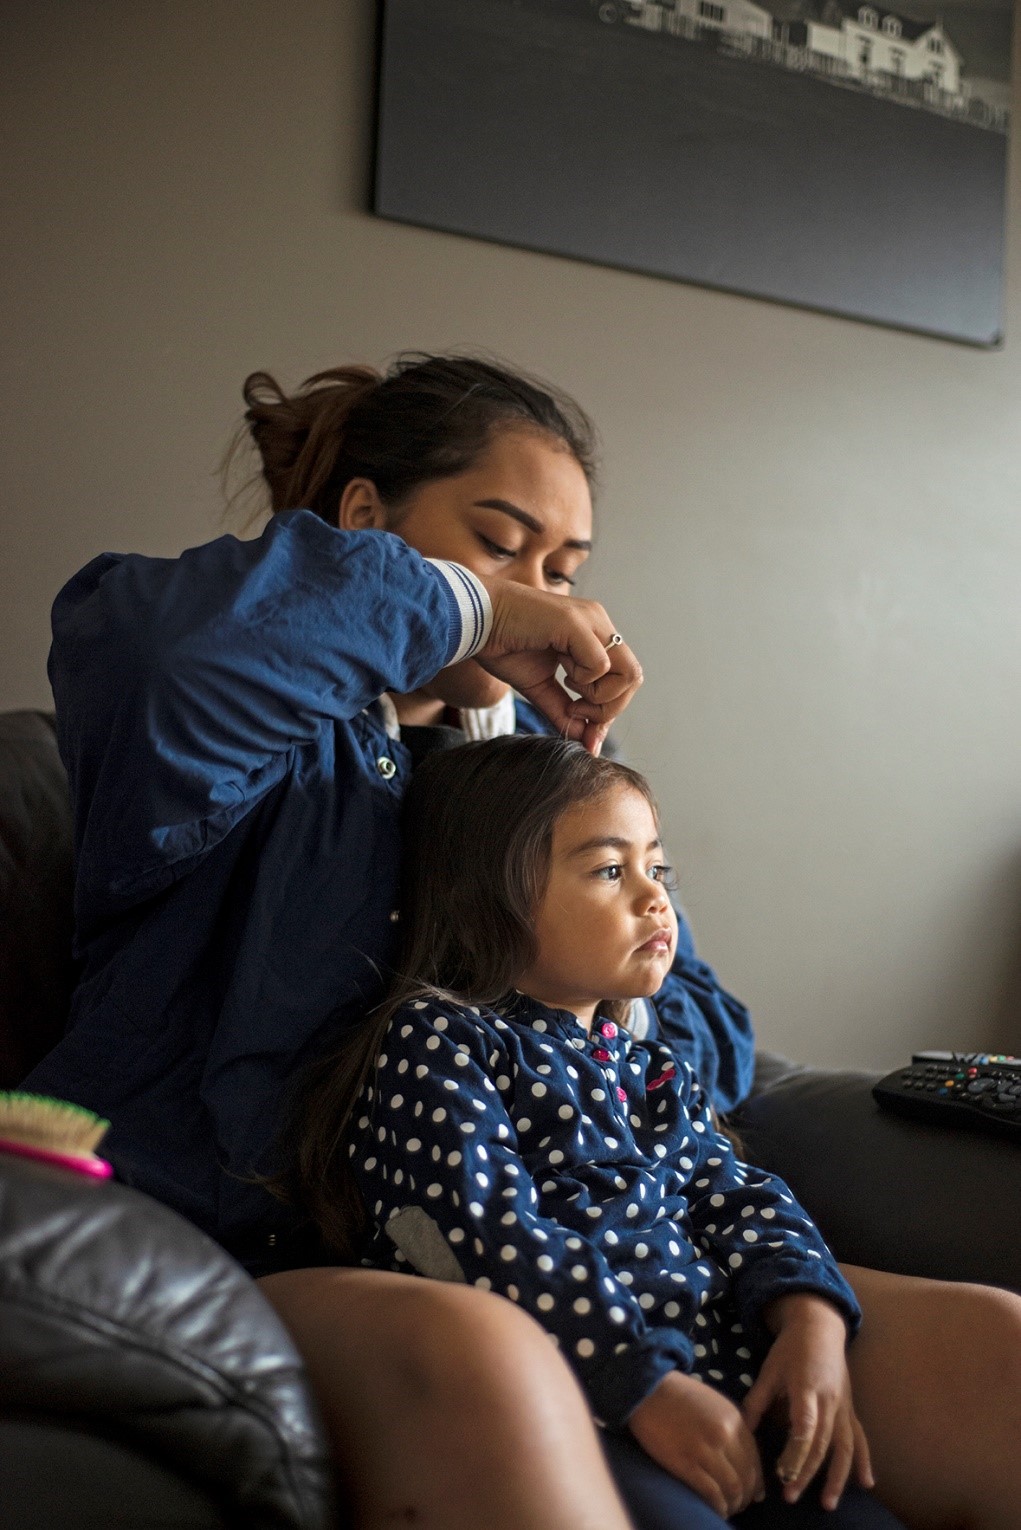
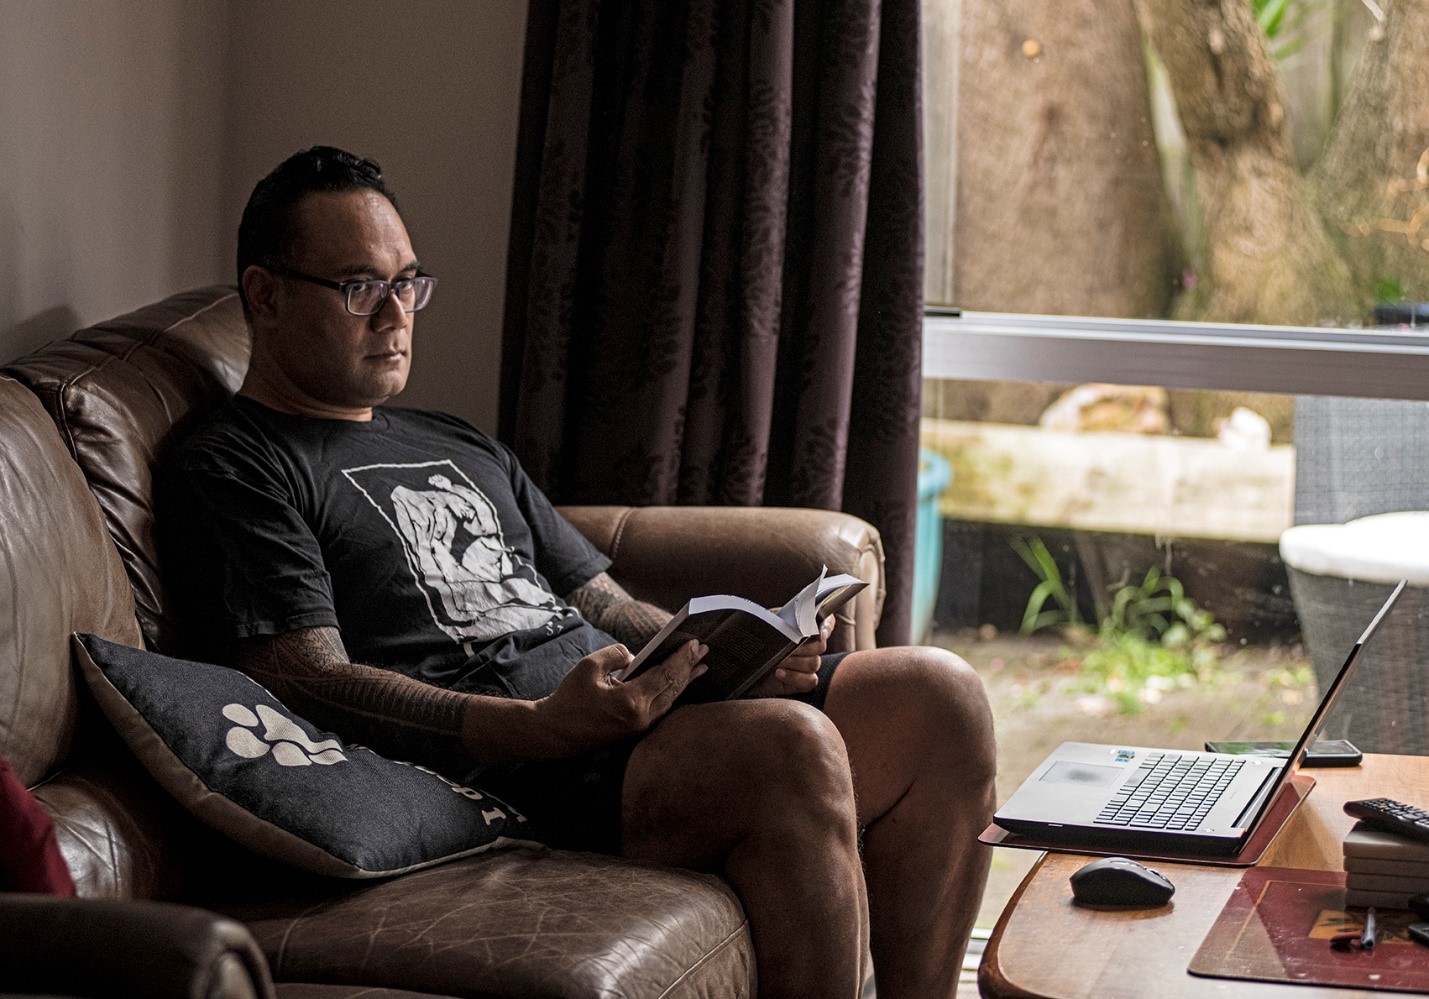
Some of the best moments for photography come from sitting with your family as they go about their daily routines. This can be anything from playing together, reading together or seeing them in moments that speak volumes about their relationship with each other. As an example, this could be a photo of your mum or dad reading to you, your brother or sister. In this example, I took a photo of my nieces getting ready for school.

<p><em>Getting ready for school</em>. Photo: Raymond Sagapolutele</p>

Getting ready for school. Photo: Raymond Sagapolutele

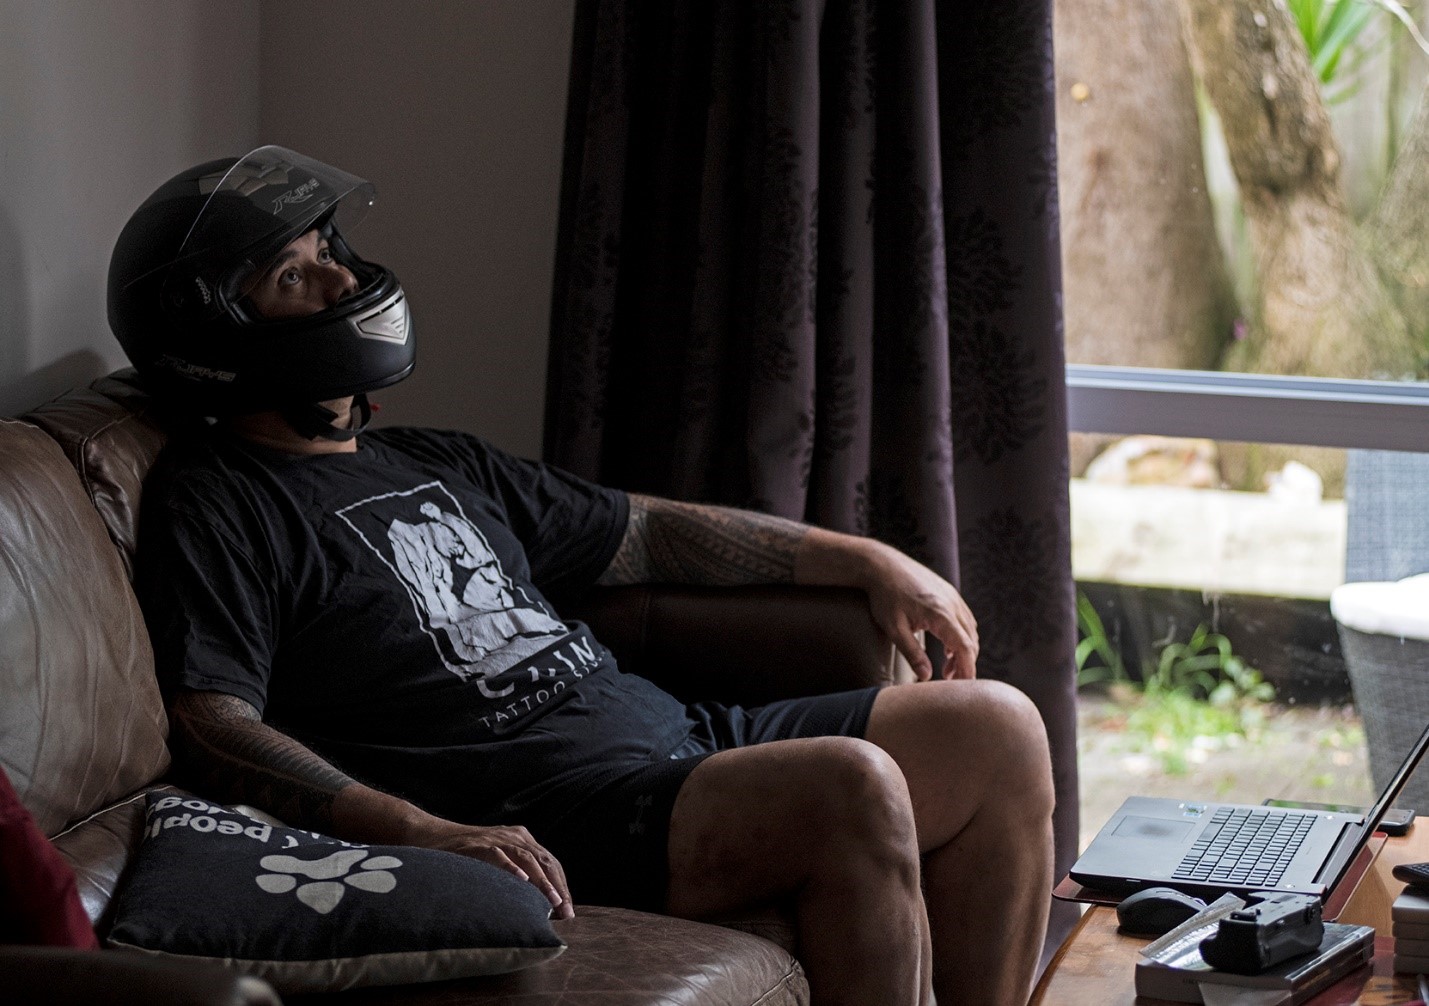
For those of us that are using ourselves as models, think about something you want to say about yourself – like how much you like to wear your motorbike helmet in the lounge – and then photograph it! I love my helmet as it’s part of my outfit for when I go riding on my motorbike. Dragging my whole bike into the lounge is probably not the best idea, so I thought I would try to show how I would look thinking about riding but doing so safely – this is both ridiculous and funny when photographed, but I like it.

<p><em>Self-portrait with helmet.</em> Photo: Raymond Sagapolutele</p>

Self-portrait with helmet. Photo: Raymond Sagapolutele

3.  Compose and plan.

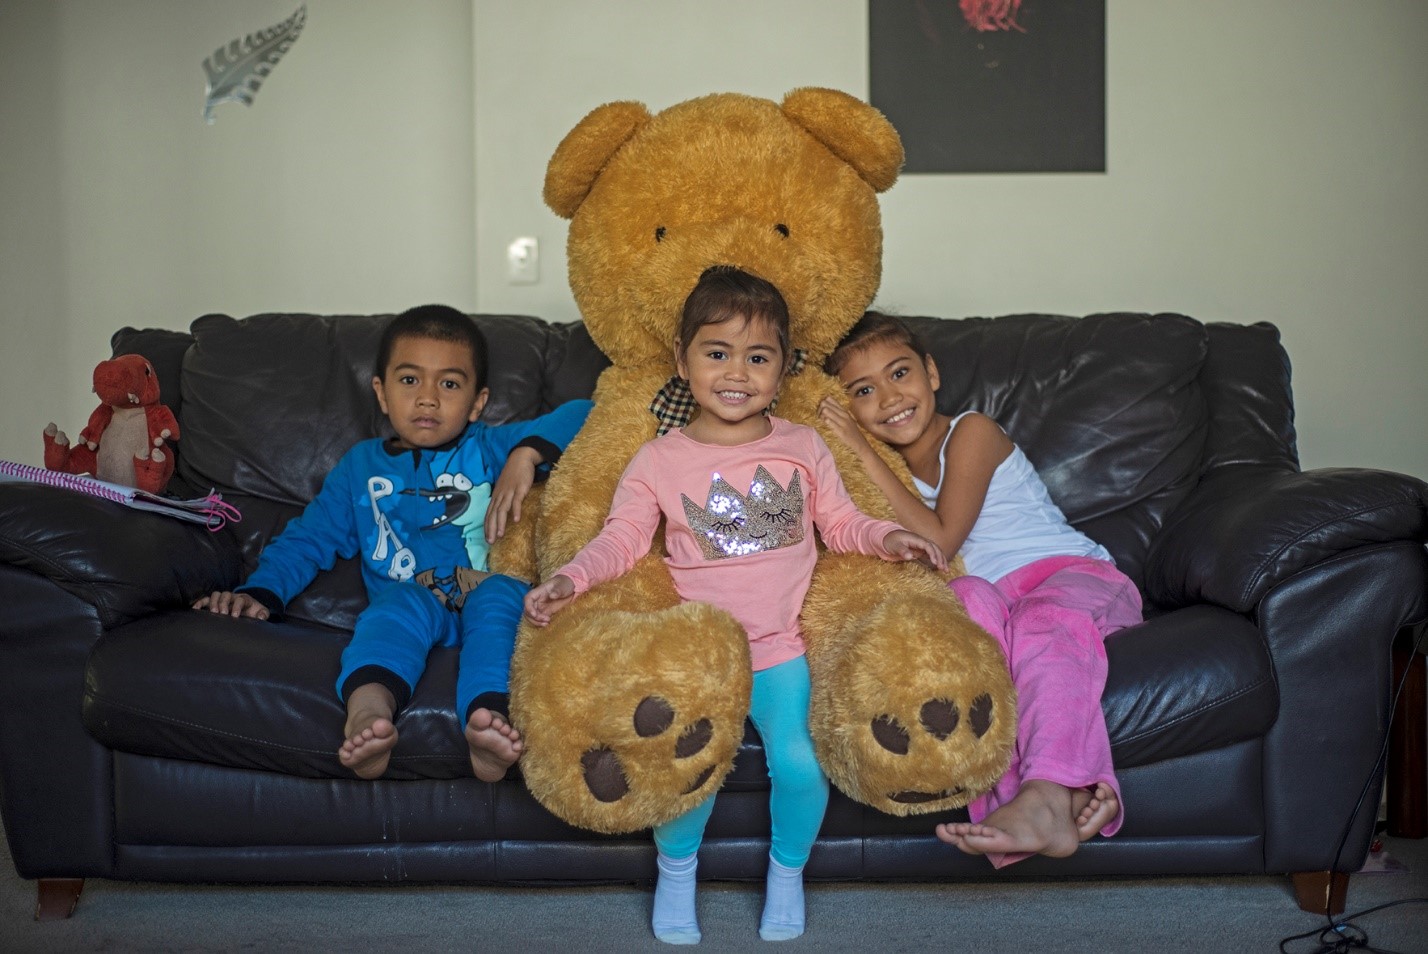
This is the opposite of my previous tip, in that this is about controlling the final look of your image. Composing is also about placement – choosing to have two people in your photo is a compositional choice; to go a bit further you can also ask them to pose for you. This is a fancier way of asking people to stand or sit a certain way for you. In the next photo, I asked my family to sit on a couch and to look at my camera. To take it bit further, we included a giant teddy bear.

<p><em>Kids</em>.&nbsp; Photo: Raymond Sagapolutele</p>

Kids.  Photo: Raymond Sagapolutele

What is cool about these kinds of shots is that you don’t have to stick to the script of asking people to look at you, say ‘cheese’ and then shoot. Try getting them into position and chat with them – then, as you talk, click away.


4. Look for ways to draw the viewer in.

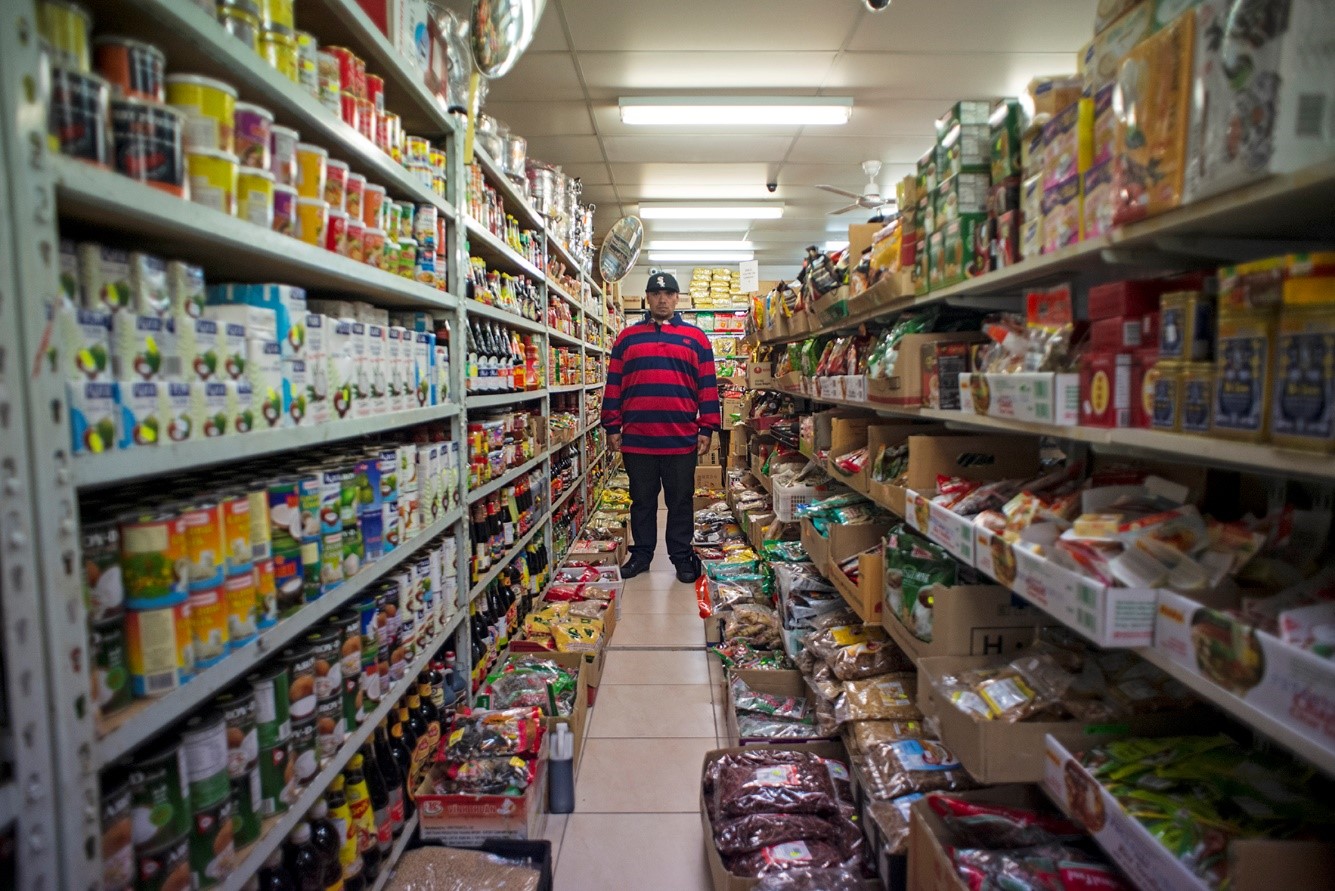
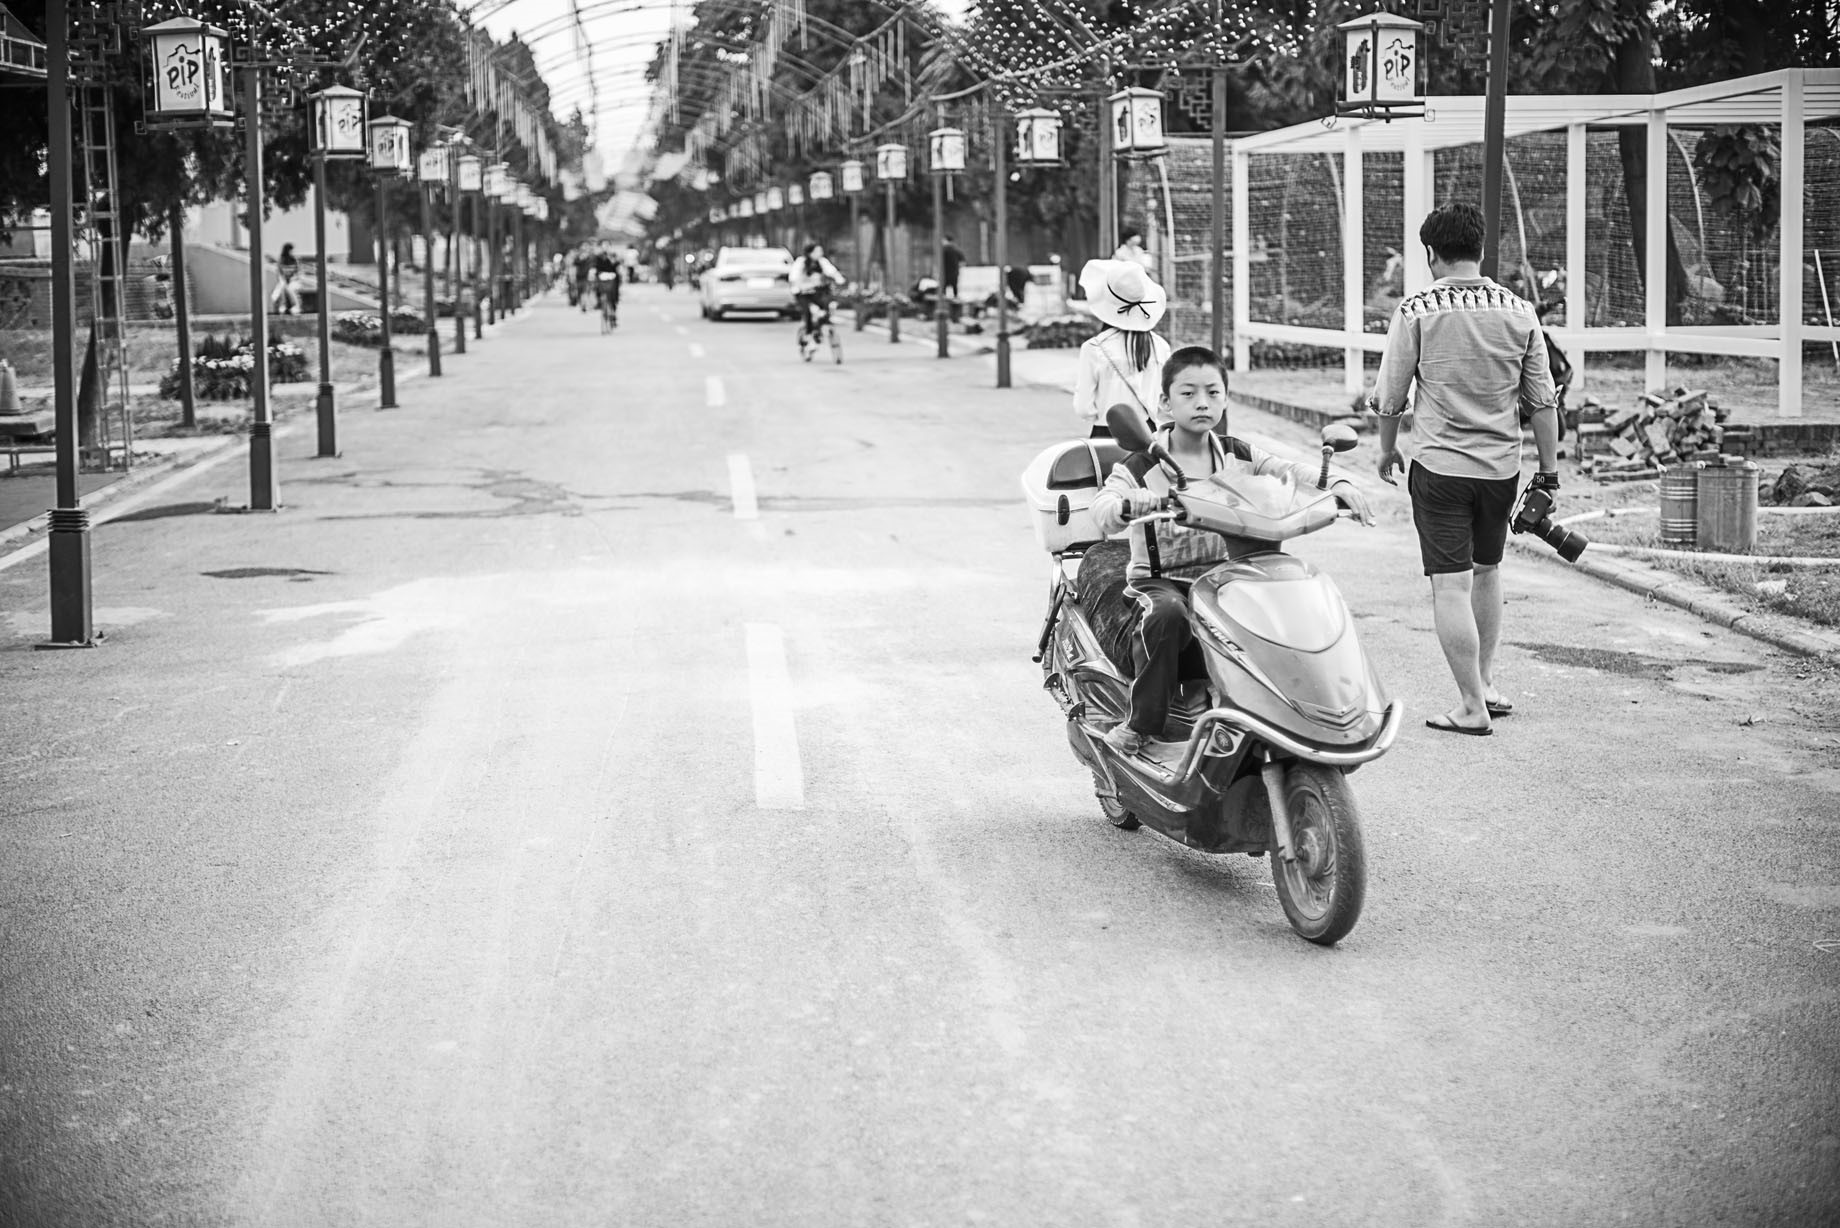
When you take portraits of people, you don’t just have to stick to the straight-forward shot of the person you are photographing. You can use the environment, or even the room, by using leading lines. You can do this with someone at the centre of the shot like in the first example below. (This was taken in public, but you can get the same effect at home if you use long, narrow space like a hallway.) Moving your model along leading lines makes your eye follow them no matter where they sit, as you can see in the next photo.

<p><em>My brother.</em>&nbsp; Photo: Raymond Sagapolutele</p>

My brother.  Photo: Raymond Sagapolutele

<p><em>Scooter Boy, Pingyao 2016</em>. Photo: Raymond Sagapolutele</p>

Scooter Boy, Pingyao 2016. Photo: Raymond Sagapolutele

5. You can have more than one background.

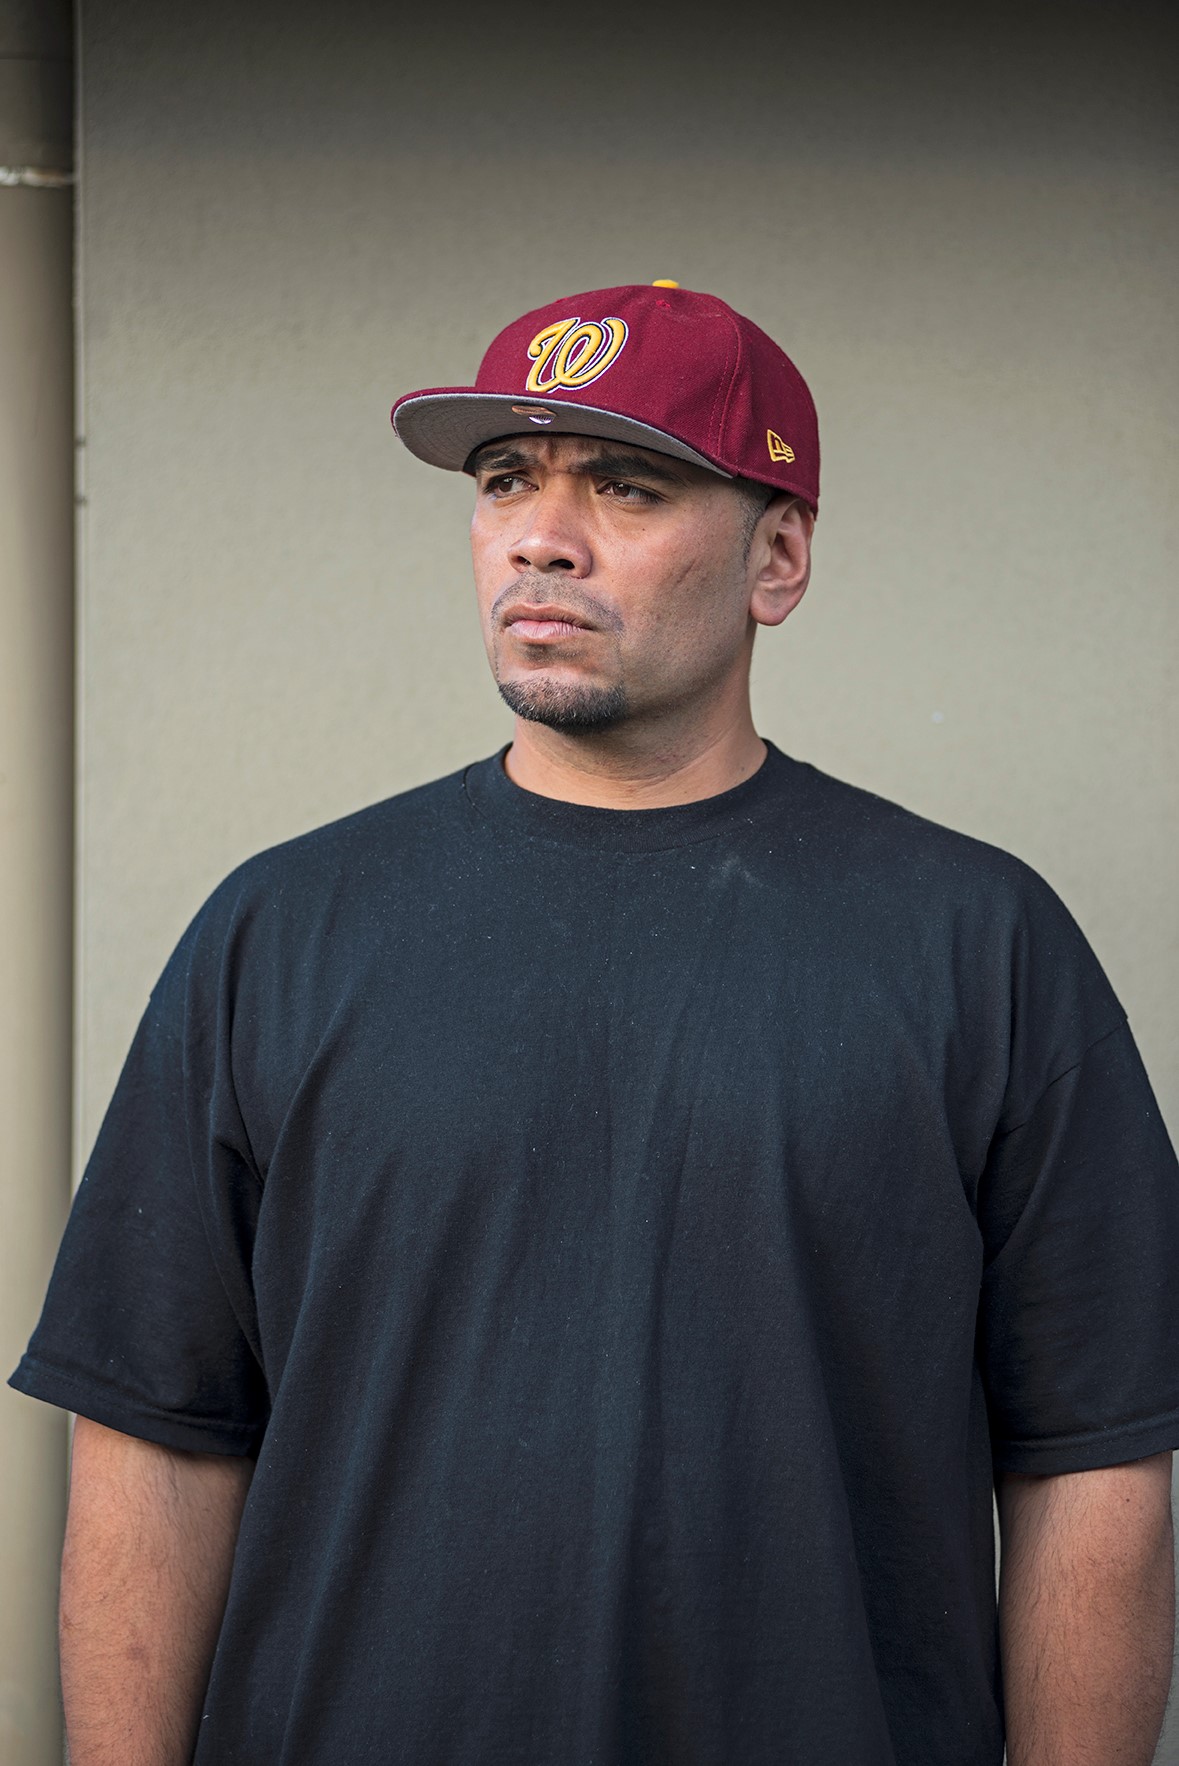
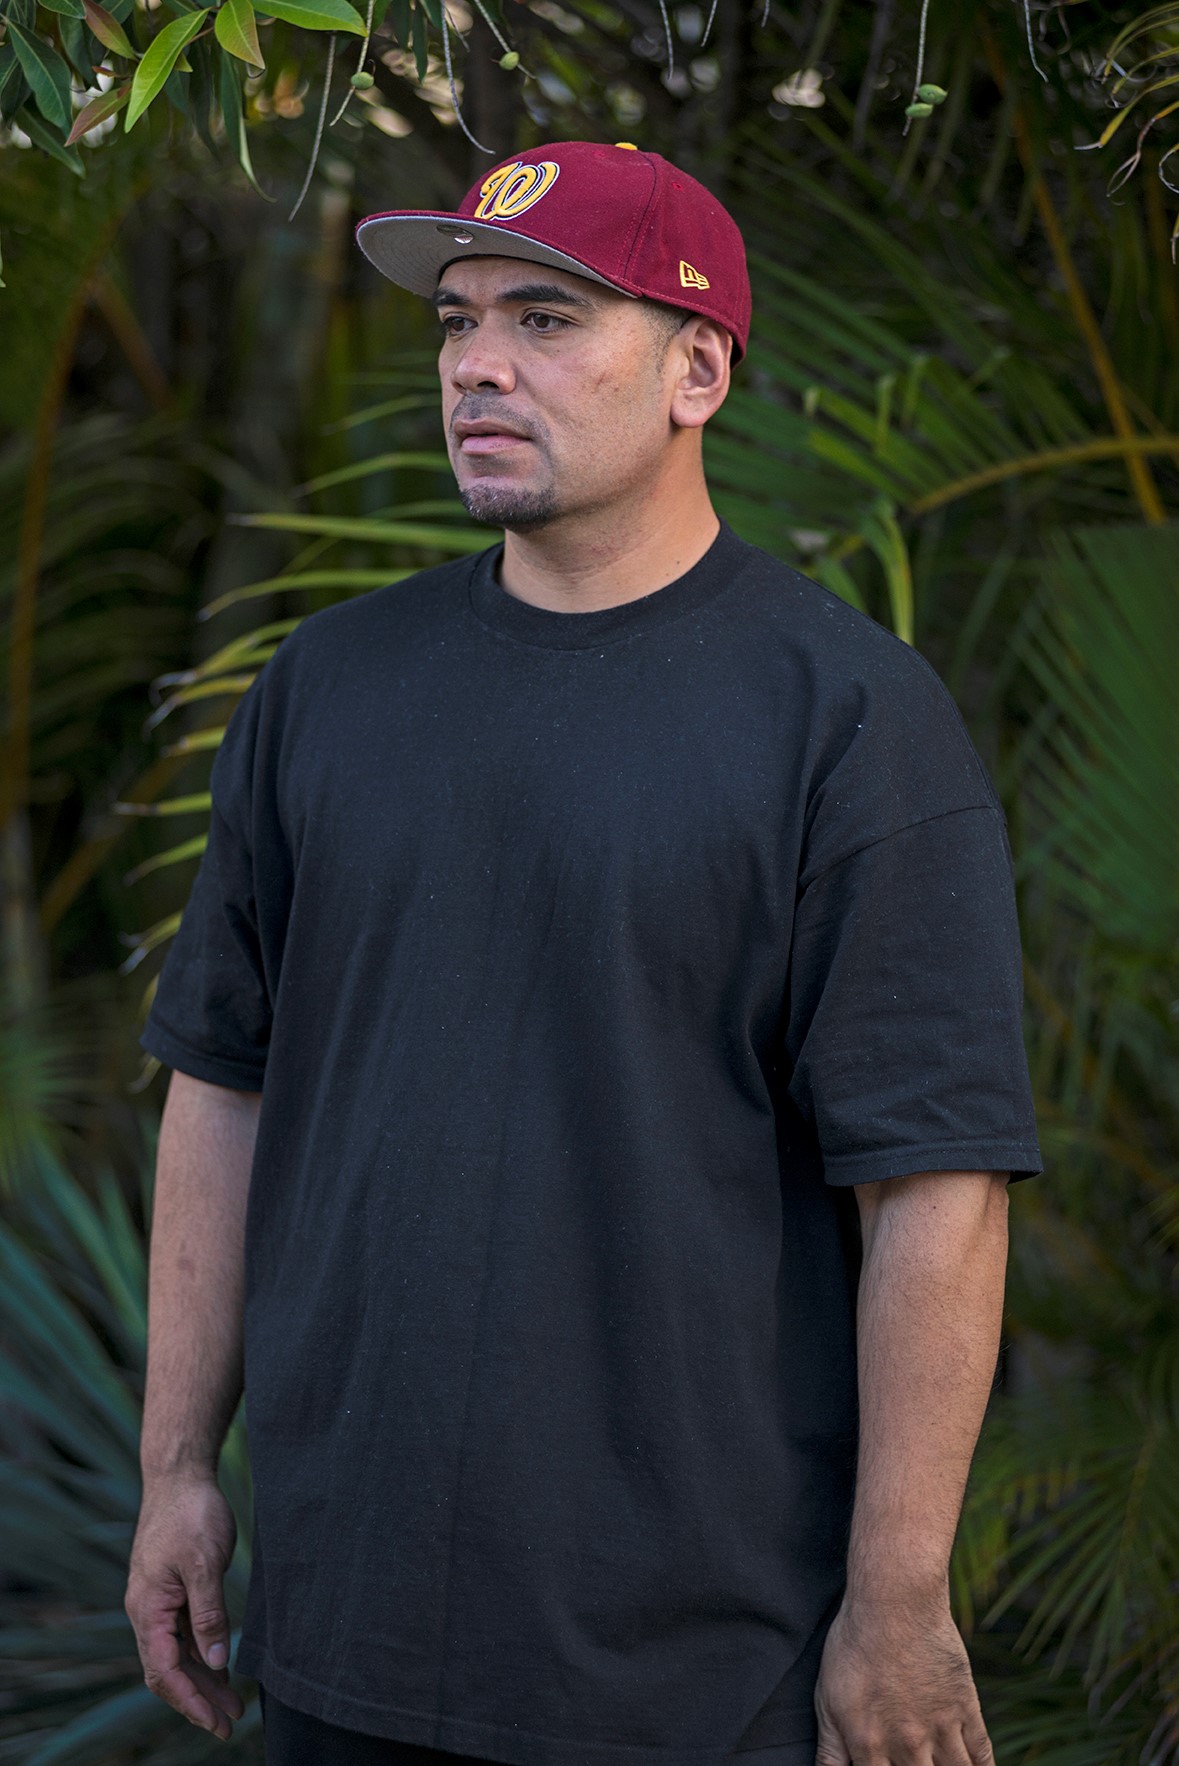
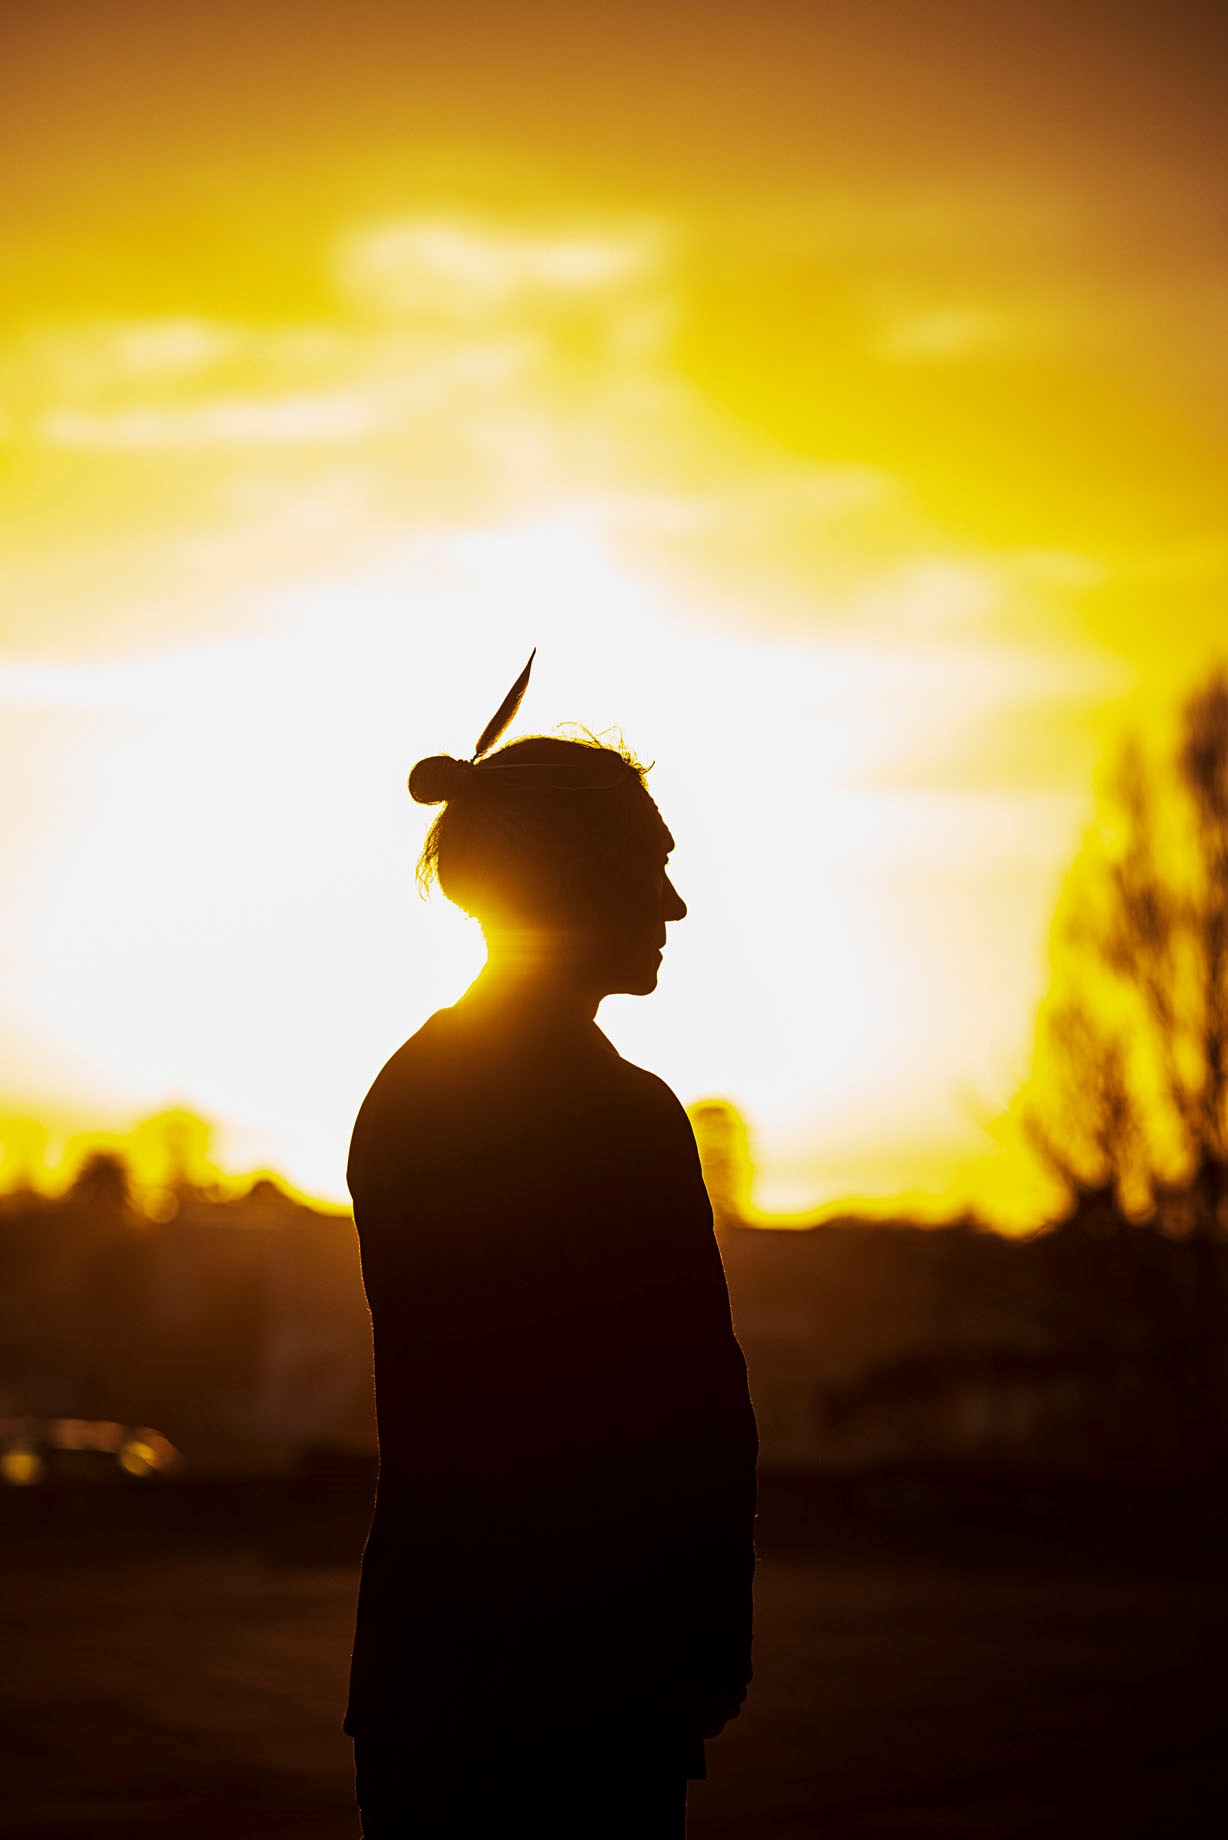
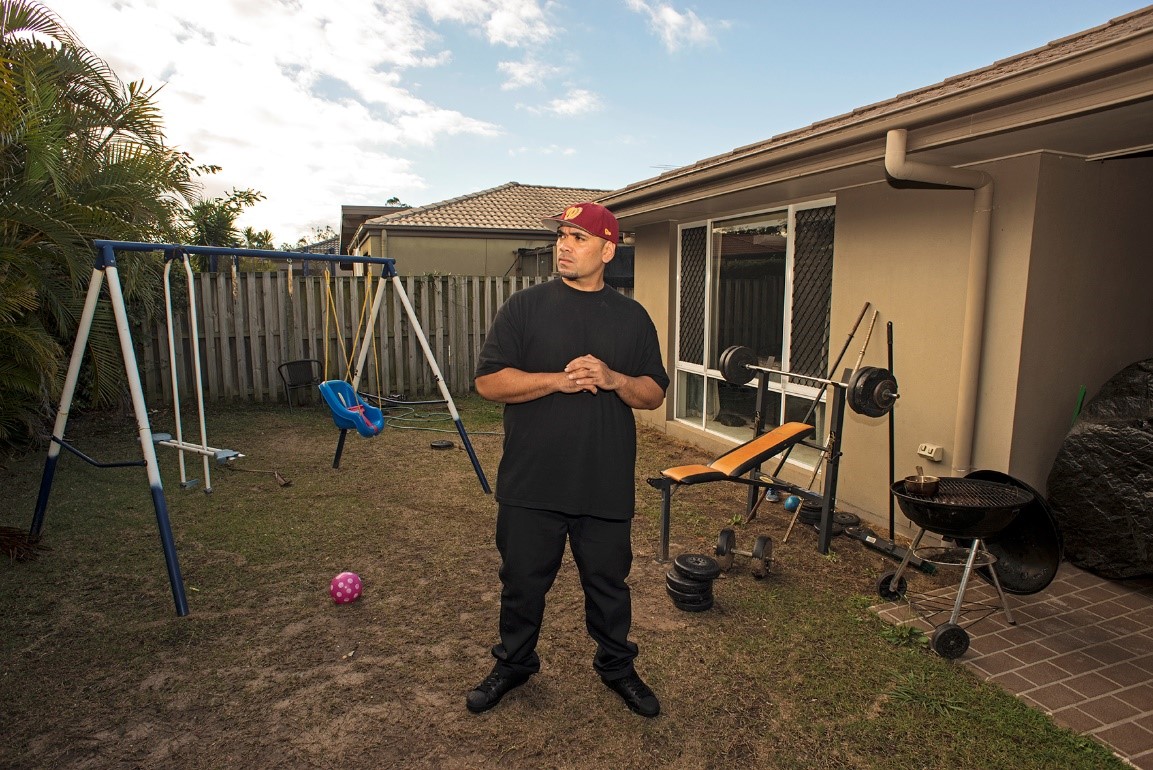
Don’t forget the background in your portraits! They don’t have to just be a blank wall, you can have curtains as a backdrop, use plants in your yard or even the fence for some variety. Just remember that, if you take photos outside, you’ll need to consider where the sun is, as this will affect your photo. If it’s behind your model, it will turn them into silhouettes. (Perhaps this is the look you want!)

In the first picture, I asked my brother to stand in front of a plain wall at his home. I like it, BUT in the second image I got him to stand in his yard in front of the palm trees and shrubs, and I prefer this. Now the bonus third image I have included is of a good friend, and I shot this with the sun rising in the background and this has created a silhouette portrait. This is a lot of fun if you’ve planned it, but not so much if you want to see the details of someone’s smile and smiling eyes.

<p>Photo: Raymond Sagapolutele</p>

Photo: Raymond Sagapolutele

<p>Photo: Raymond Sagapolutele</p>

Photo: Raymond Sagapolutele

<p>Photo: Raymond Sagapolutele</p>

Photo: Raymond Sagapolutele

6. Feel free to take photos from different angles.

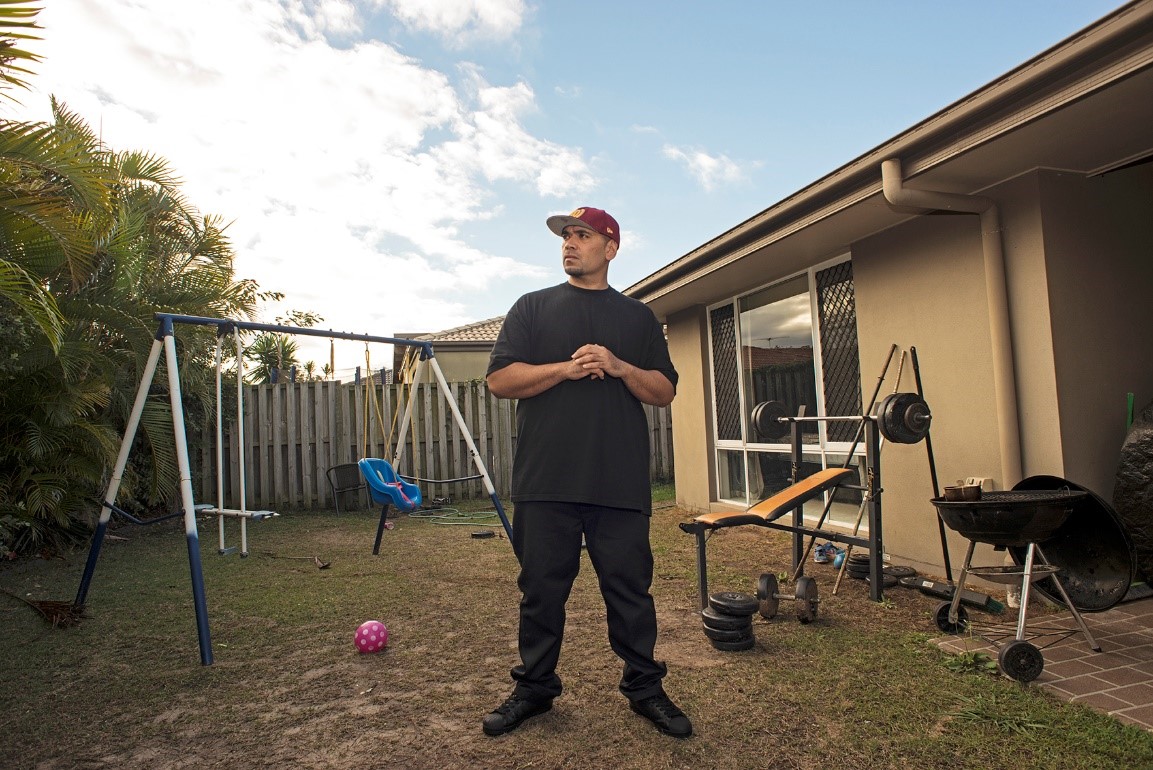
Try experimenting with taking images at different angles, you might like the result. I took this photo of my brother in his back yard and it was shot with me standing at a similar height to him. He is actually taller than me, but you don’t get a sense of his height in the first image. I decided to kneel, and the result is the second image.

<p>Photo: Raymond Sagapolutele</p>

Photo: Raymond Sagapolutele

<p>Photo: Raymond Sagapolutele</p>

Photo: Raymond Sagapolutele

I could spend hours telling you what to do as a artist-photographer, but where is the fun in that? These are just pointers to get you started, what you do from here is up to you and most of the fun comes from learning as you work. Don’t worry about the gear, a camera is just a tool in the hands of the artist – and that’s you.

Have fun, take lots of photos and get a feel for what works for you and, hopefully, I will get to see some of your work.

Be safe, be kind – alofa and respect from me.